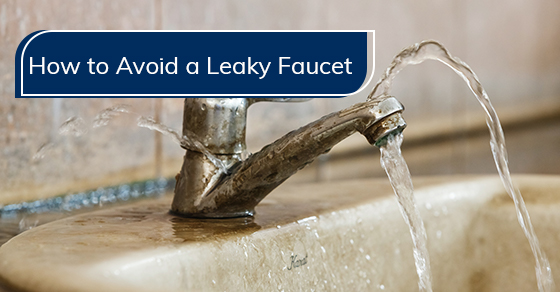
How to Avoid a Leaky Faucet

A leaky faucet isn’t just annoying, it can also increase your utility bills. You end up paying extra for wasted water, and it’s entirely preventable. Fortunately, a leaky faucet can be avoided with these 11 top tips.
1. Tighten the screws
Just as the parts of your faucet can become misaligned over time, so can the screws loosen. These screws are responsible for holding your faucet together, so when they become loose, water can leak.
This is the first thing you should check if your faucet begins leaking. Many leaks can be fixed quickly and easily simply by tightening the screws. If the screws are stripped, however, they will need to be replaced.
2. Look for cracks
Faucets often experience normal wear and tear as a result of regular use. This can lead to small cracks that slowly increase in size, resulting in significant leaks. You can catch these cracks early by inspecting your faucet regularly and prevent leaks by having it repaired as soon as cracks begin to develop.
3. Remove corrosion
Inspect the faucet for any signs of corrosion. Small cracks and crevices often form as a result of corrosion, allowing water to seep through. Furthermore, the sealant around the faucet can also break down, causing even more leaks.
Corrosion is easy enough to remove. Simply use a gentle cleanser and soft cloth! However, severe corrosion may require a specialty product.
4. Check for freezing water
Freezing water can cause a break in the pipes and lead to a leak. As water freezes, it expands; this can put a catastrophic amount of pressure on the pipes, especially pipes made from copper or galvanized steel. Consequently, you must take precautions to prevent water from freezing in the pipes.
First, ensure that all exposed pipes in unheated areas are adequately insulated. Second, keep your thermostat set to at least 12 degrees Celsius. During cold snaps, keep a trickle of water running from each faucet overnight. This keeps the water flowing and helps to prevent freezing.
5. Replace the gasket
The small rubber ring that fits between the base of the faucet and the handle is called a gasket. It must provide a snug fit to prevent leaks. However, gaskets can become hard, brittle, and worn over time. Water can then leak past the gasket into the handle, and drip out the faucet.
Fortunately, it’s easy to replace an old or worn-out gasket. All you have to do is remove the handle, unscrew the old gasket, and screw on a new one! It’s one of the cheapest ways to fix a leaking faucet.
6. Tighten the packing nut
Underneath the faucet’s handle is the packing nut. If the packet nut is too tight, it can damage the stem and cause a leak. However, water can also leak around the stem if the packing nut is not tight enough. It needs the right amount of tightness to work correctly and prevent leaks.
7. Check the shut-off valve
Do you know where the main water shut-off valve is? You should; it’s crucial information to have during an emergency. That being said, don’t wait for a flood to look for your home’s shut-off valve. Damaged or corroded shut-off valves can cause leaks and should be replaced immediately.
8. Unblock the faucet
Dirt, sediment, and mineral deposits can build up in faucets, particularly in areas where the water is hard. Eventually, this accumulation blocks the flow of water, increases water pressure, and strains the seals and joints. These parts are not designed to handle high-pressure water.
Consequently, you must clear out this debris regularly to prevent drips and leaks. Use a soft brush to dislodge any build-up or use a mild cleaning solution for stubborn blockages.
9. Regulate water pressure
Improper water pressure can lead to leaks. High pressure puts stress on fittings and joints, whereas low water pressure causes pipes to corrode. A pressure-regulating valve can help. A qualified plumber from Brothers Plumbing can install this simple device that automatically keeps the pressure within a safe range.
10. Align the faucet correctly
Your faucet is used multiple times every day. This can cause parts of the faucet to become slightly misaligned over time, leading to a slow drip. To fix misalignment, unscrew the faucet cap and adjust the washer until it’s appropriately aligned with the seat. Then, screw the cap back on and see if it leaks.
11. Schedule regular professional maintenance
Lastly, regular professional maintenance is the best way to prevent a leaky faucet.
Even if you check off every tip in this list, issues can still arise with your faucet and plumbing system. After all, a leaky faucet can be caused by a variety of factors, so it’s important (and faster) to get a professional opinion. Otherwise, you may spend all weekend under your sink!
The plumbers at Brothers Plumbing have the training, tools, and knowledge to correctly diagnose and repair your leaky faucet. We have more than 50 years of experience in plumbing and drains—and we’re ready to help!
For faucet repair services in Toronto, call Brothers Plumbing at 800-741-8471 or contact us here.
Posted By Brothers Plumbing
0 Comment
