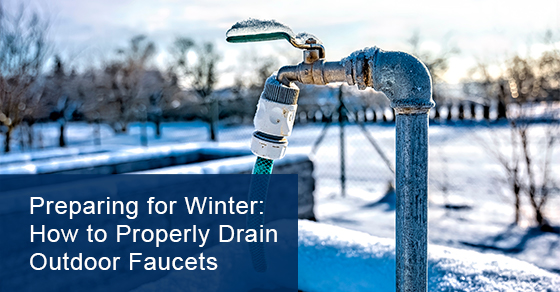
Preparing for Winter: How to Properly Drain Outdoor Faucets
As the weather gets colder, there are many things that homeowners need to do to prepare their property for winter. These can include insulating windows and doors, and also draining your outdoor faucets.
If there is water anywhere outside your home in the winter, it can freeze, including inside your pipes. If water inside your pipes freezes, it can cause significant damage to your pipes and impact your whole plumbing system. One of the risks is having your pipes burst, which is more likely to happen inside your walls, thus causing extensive damage to your home. To prevent this from happening, it’s important to add draining outdoor faucets to your winter preparation to-do list.
Importance of Winter Preparation for Your Outdoor Faucets
There are several reasons you’ll want to winterize your outdoor faucets, including in order to prevent problems such as:
- Reduction of pressure in your pipes.
- Disruption of water flow.
- An increase in energy costs.
- Pressure on your appliances, including your hot water heater.
- Ice water build-up that can cause condensed water vapour, which may lead to a leak and, ultimately, mould.
While these are not scenarios you’d want to face as a homeowner, the bigger risk is damage to your plumbing system from frozen water in your pipes. When water freezes, it expands; this can put extra pressure on your pipes. If you have any weak areas in your pipes, this can cause damage and break, leading to leaks. If this happens, you’ll need to replace your pipes and possibly your plumbing infrastructure.
How to Drain Your Outdoor Faucets
It’s crucial that you remove all water from your outdoor taps and hoses to prevent it from freezing and causing damage. The best time to drain your outdoor faucets is in early to mid-fall. Doing this correctly requires a few simple steps, including:
1. Turn off the water supply valve
You’ll need to find your main water supply valve so you can turn off the water. If you’re not sure where it is, check around your water meter in your basement. It may also be in your crawl space or garage. Look for lever-style valves, not standard ones. They may have a bleed cap that can help drain excess water from the pipe.
Also, it’s important to note that your home may have two different water supply valves. One will be for the inside, and the other will be for the outside. You’ll want to be sure you’re turning off the correct one. If you’re not sure, you can contact Brothers Plumbing, and we can help you find it and switch it off.
2. Find your faucets
Check the perimeter of your home, and find all the outdoor faucets that you’ll need to clear the water from. Be sure that you go through all the steps with each faucet to keep your home and pipes safe during the cold winter.
3. Remove faucet connections
The next step is to remove any hoses or other connections to your faucet. These connections can sometimes contain water, which can get into your faucet and freeze, thus causing damage. Consider storing these items away in your garage until the spring or summer. Be sure to drain any excess water from the connections before you store them away.
4. Drain the water
Once all the connections have been removed, clear the space in front of your faucet. Then, turn it on as high as it will go. Let the water run until it is just trickling out. Doing this will clear any water remaining in your pipes; it can also clean any build-up that has been collected.
5. Use the bleed cap
After you’ve drained as much water from the faucet as possible, go back inside to the main valve. Place a bucket underneath the shutoff valve and remove the bleed cap. Let the water drain into the bucket so there is no excess liquid left in the pipe. When the water stops draining, put the bleed cap back on.
If your home is older, you may not have an indoor shutoff valve for your outdoor faucets. However, you can ask your plumber to install one. Our professional team can replace your standard faucet with a frost-free one. With these types of faucets, you’ll be able to leave the water on any time of year and not worry about frozen water or pipes bursting.
6. Clean debris
Some outdoor faucets attract debris, which can cause clogs and backup water flow. To prevent these from being a problem during the winter months, you’ll need to use a drain snake to clear the pipe before you close it off. Plumbers use drain snaking long tools to break up drain clogs and clear pipes.
7. Tighten the faucet
Go back outside to each of your outdoor faucets. If all the water has run out, you can turn the faucet off. Be sure to tighten it as much as you can.
8. Place insulation cover on faucet (optional)
For extra protection, you can buy insulation covers to put over your faucet. It will keep it safe from snow, ice, and other weather hazards during the winter months. These kits can be placed on your faucet for the colder months, and removed during the spring and summer.
Preparing for Winter
Cold weather can cause water in your pipes to freeze and expand. This can lead to busted pipes and costly repairs. However, by properly preparing your outdoor faucets for winter, you can avoid trouble.
For more information about preparing your outdoor faucets for winter and other plumbing services in Toronto, call Brothers Plumbing at 1-800-742-8471 or contact us here.
Posted By Brothers Plumbing
0 Comment